DIY pfSense Firewall/Router Part 1: Introduction

When i moved to a new appartment some time ago there was already a router installed and provided by my ISP. The router was responsible for routing WAN and IPTV traffic and acted as a Wireless Access Point. However the router was completely locked down and there were no way to access it. I started to look for a replacement and quite soon I found a match made in heaven - pfSense as firewall/router on my own hardware.
In this multipart series I will show you how I built and configured my own firewall/router with Wireless capabilities and a lot more using pfSense.
What is pfSense?
pfSense is an open source firewall/router computer software distribution based on FreeBSD. It is installed on a physical computer or a virtual machine to make a dedicated firewall/router for a network and is noted for its reliability and offering features often only found in expensive commercial firewalls. It can be configured and upgraded through a web-based interface, and requires no knowledge of the underlying FreeBSD system to manage. pfSense is commonly deployed as a perimeter firewall, router, wireless access point, DHCP server, DNS server, and as a VPN endpoint. pfSense supports installation of third-party packages like Snort or Squid through its Package Manager. – Wikipedia
Hardware
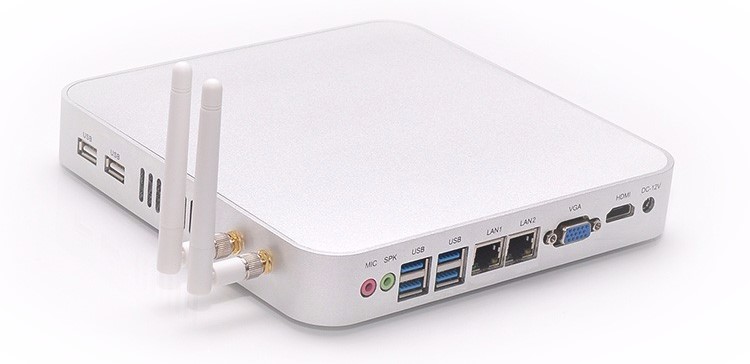
I found an Intel Celeron 1037U Mini Desktop Computer on AliExpress that suited me perfectly:
- Small form-factor
- Fanless system
- Faily good processor power and speed and enough RAM
- Support for AES-NI for hardware encryption/decryption that can come in handy when using VPN technologies sush as OpenVPN
- Dual Intel Gigabit Ethernet NICs with support for teaming if needed
- Wireless support/dual antenna with extension card
- Cheap, about $184 plus $50 in custom (imported from China to Sweden)
 Image by Eglobal Technology Co Ltd
Technical Specification
| General | |
| Processor | Intel Celeron 1037U 1.8GHz Dual Core 2 thread |
| Storage | SSD 8GB |
| RAM | DDR3 2GB |
| Model | Intel HM77 Express High Speed Chipset |
| Processor Details | |
| CPU | Intel Celeron 1037U |
| Processor number | 2 core / 2 threads |
| Technique | 22NM |
| Slot | Socket H2(LGA 1155) |
| Buffer RAM |
L1 data cache: 32 KB, 8-Way, 64 byte lines L1 code cache: 32 KB, 8-Way, 64 byte lines L2 cache: 256 KB, 8-Way, 64 byte lines L3 cache: 2 MB, 8-Way, 64 byte lines |
| Characteristic | MMX, SSE, SSE2, SSE3, SSSE3, SSE4.1, SSE4.2, EM64T, EIST |
| Display Card Details | |
| Graphic Cards |
INTEL Ivy Bridge Graphics Controller Intel HD Graphics 2500 |
| Resolution (MAX) | Support 1920*1080 HD resolution, 32 bit color depth 60Hz |
| Audio Cards | Intel(R) display audio Intel Panther Point High Definition |
| Network | |
| Network Card | Intel 82574L PCI-E Gigabit Ethernet NIC |
| Ethernet | 10/100/1000Mbps Adaptive |
| WIFI | 802.11.b/g/n(150M or 300M Optional) |
| I/O Port | |
| Display port | 1x VGA+ 1x HDMI |
| USB port | 2x USB 2.0 ports; 4x USB 3.0 |
| Ethernet port | 2x RJ 45 10/100/1000Mbps Adaptive |
| Power input port | 1 inner diameter 2.5mm, external diameter 5.5mm |
| Audio | Standard 3.5 Audio input and output |
| Power and Working Environment | |
| Input | DC100-240V AC/50-60Hz |
| Output | DC 12V/3A |
| Type | External power adapter mode |
| Type | 17W |
| Noise | Fanless System |
| Temperature | 0-70 Centigrade |
| Humidity | 10%-85% |
Assembly
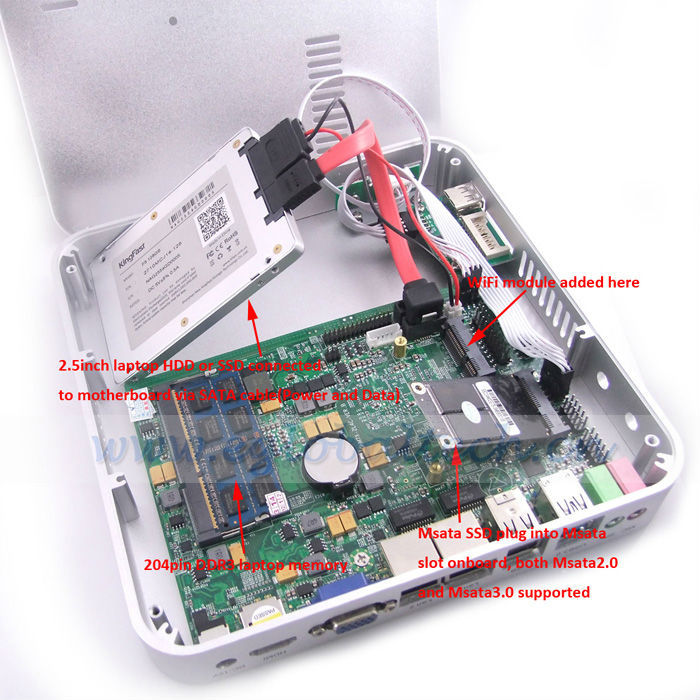
Everything arrived pre-assembled. Just needed to plugin the power cord and I was good to go. Really good first time experience of shopping at AliExpress.
 Image by Eglobal Technology Co Ltd
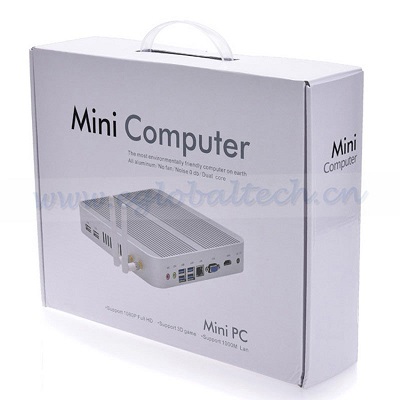
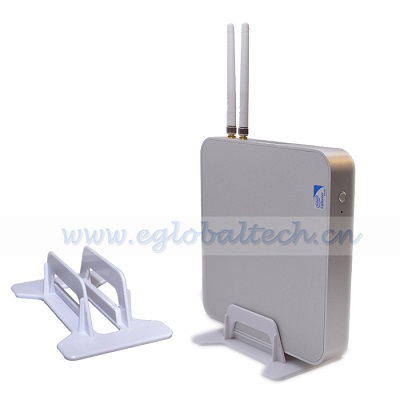
 Image by Eglobal Technology Co Ltd
This concludes the first part. In the next post I’ll show how to install pfSense and do some general setup.
