DIY pfSense Firewall/Router Part 2: Installation
In the first part I introduced pfSense and the hardware I’m using for building my firewall/router. In this part I’ll show how to install pfSense and do some general setup.
Installation
The official pfSense documentation is actually really good so I recommend you to follow the Installing pfSense to get a fresh installation in place.
I used a USB thumb drive and made it a bootable drive with 64-bit Memstick VGA image (as of writing pfSense-CE-memstick-2.3.1-RELEASE-amd64.img). I choosed the full installation, i.e. installed pfSense on my internal 8GB SSD drive.
First, the installer console can be changed to use a different font, screenmap, or keymap. Most people do not need to change these, but it may help with some international keyboards.
I’ve actually had some needs of using an attached keyboard in the FreeBSD shell after the installation to do some tasks and it’s really a pain in the ass with a Swedish keyboard and an american/english keymap setting (default). I didn’t find an easy way to change the keymap after the installation so changing the keymap settings during installation is something that I would take into consideration.
Second, in the installer console I went for the Custom Install just to be sure that I was going to install it on the SSD drive and not the USB thumb drive. Going through the custom install lets you format and partition your selected disk. Besides formatting and partioning you basically choose Yes, Accept and Create. Easy as that. If you’re unsure you can have a look at step 8 to 17 in this article, it should be fine even though an older version of pfSense are referenced.
Connect and configure WAN and LAN
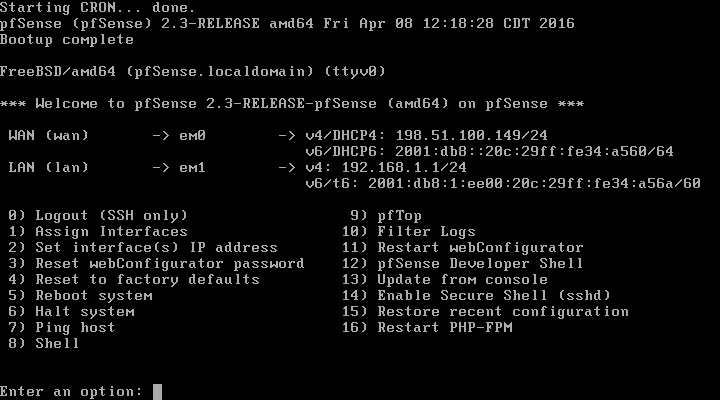
After the installation is complete, a shell menu is presented on the console with a number of options. If the installation identified your two Ethernet ports as em0 (WAN) and em1 (LAN) you can see those above the console menu. If so DHCP should already have been setup for your WAN interface and a static IPv4 address should have been assigned to your LAN interface which means that you now should be able to connect your computer to the LAN port on the pfSense and connect to the WebGUI by browsing the assigned IPv4 address (shown above the console menu), usally this is https://192.168.1.1.
If you don’t see any assigned interfaces above the console menu or if you’re having problems connection to the WebGUI I recommend that you first check that you’re using the correct port. Second choose the Assign Interfaces option in the console menu and follow the guidelines. Third choose the Set interface(s) IP address option in the console menu and follow the guidelines.
General setup wizard
Open a web browser and navigate to https://<your lan ip>, using the default username admin and password pfsense to login. The first time you access the pfSense WebGUI you’ll need to change the default admin password and so some general setup.
1. General Information
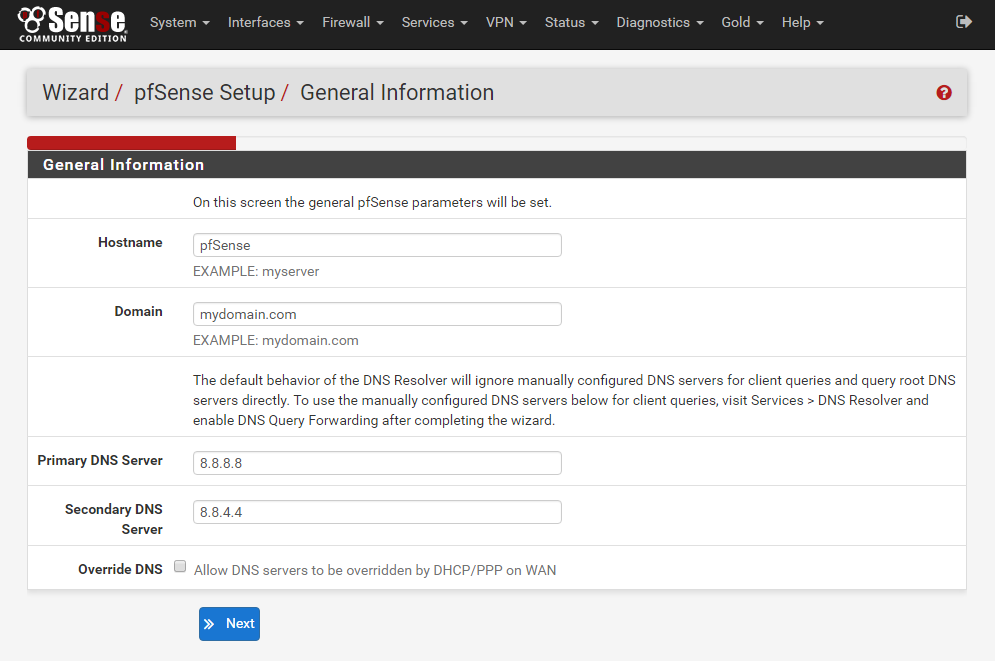
These settings are quite self-explanatory. The hostname and domain are primarily for locating your firewall/router by DNS on your local network(s), LANs. As you can see on the screenshot below I’m using Google Public DNS as primary and secondary DNS servers. In general third-party DNS servers may be faster and more reliable than the DNS servers provided by your Internet Service Provider (ISP). I’ll recommend that you use something like namebench to find the fastest DNS servers for your scenario.
2. Time Server Information
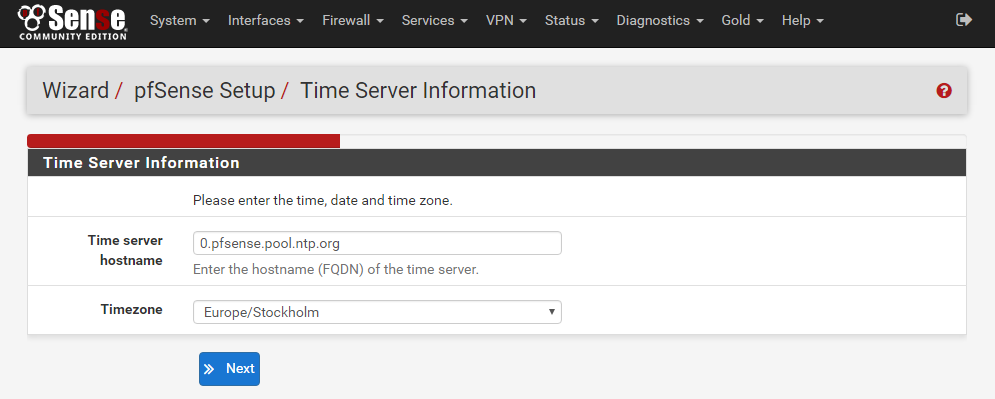
Here you provide time servers and timezone. For the time server hostname you provide a list of servers (space separated) to use for NTP (time synchronization). The use of NTP pool servers is recommended, such as 0.pfsense.pool.ntp.org 1.pfsense.pool.ntp.org and so on. Have a look at NTP Pool Project for more information.
3. Configure WAN Interface
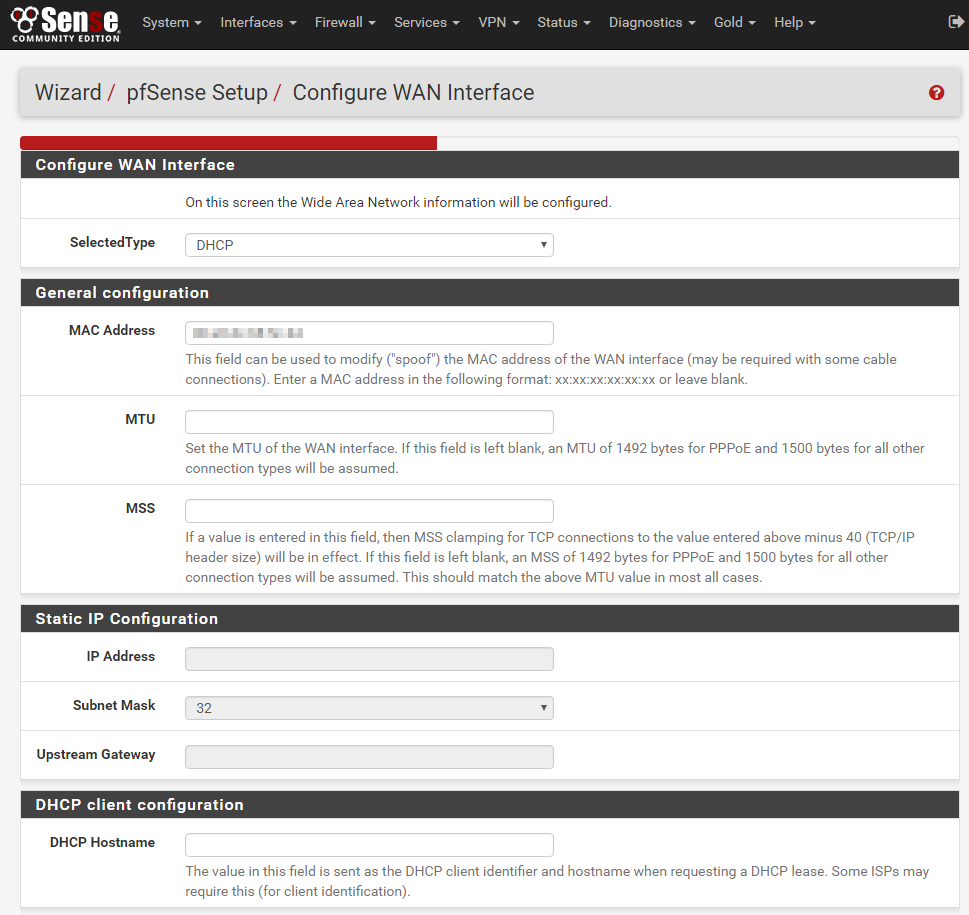
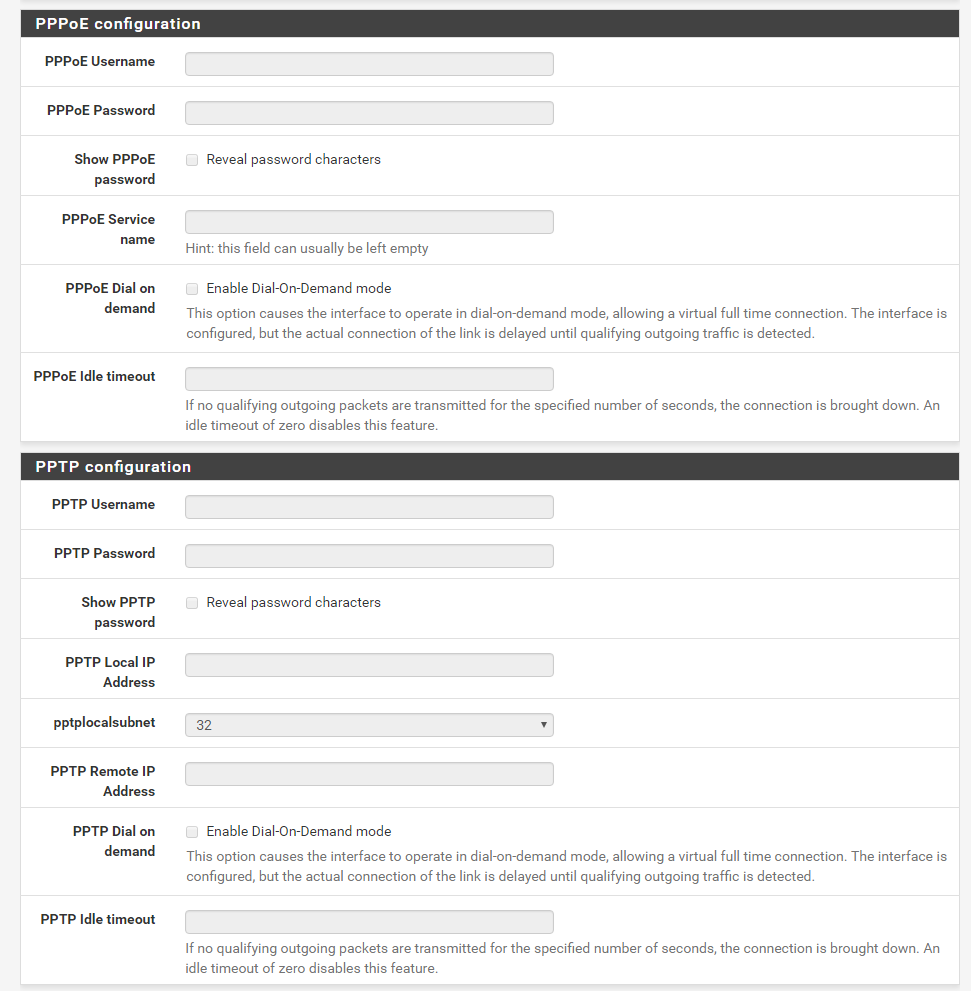
For the WAN interface configuration you need to provide your configuration based on your ISP requirements. My ISP using DHCP so I’ll choose that type. Here you can spoof the MAC address of your WAN interface. That may come in handy when your switching from a router provided by your ISP to your own since it can take a while (hours) for the ISP to accept a new MAC address and assign an IP address for your WAN interface.
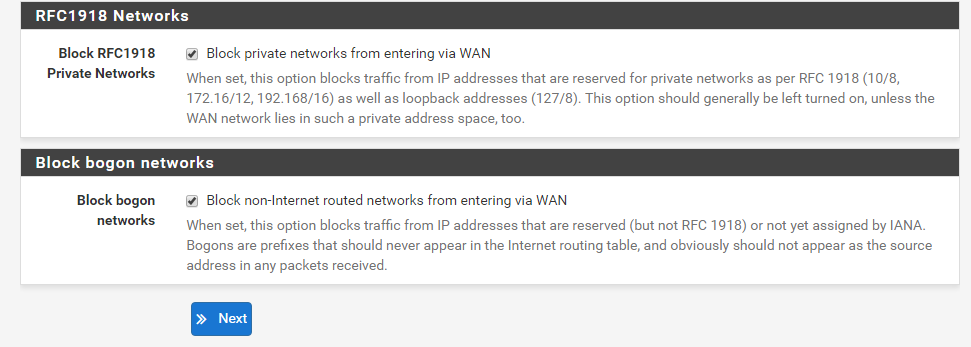
I’ll leave everything else as default except the last two checkboxes, Block RFC1918 Private Networks and Block bogon networks, which I check. It’s a good practice to check these for your WAN interface.
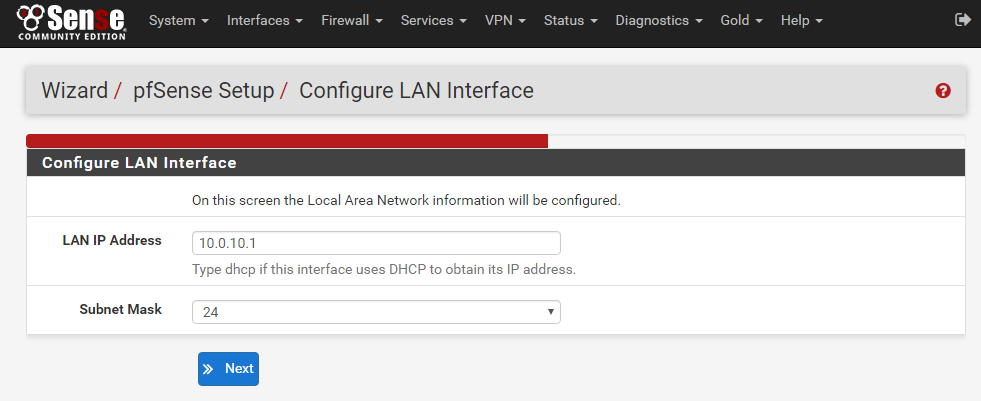
4. Configure LAN Interface
Set the LAN IP address, this address/network will be used to access the router/firewall. Here you should select a Private Network address space and you should use one of 10.0.0.0, 172.16.0.0 or 192.168.0.0 for your LAN network(s). I choose to use addresses in the 10.0.0.0 space. The default LAN IP address are 192.168.1.1 with subnet mask 24.
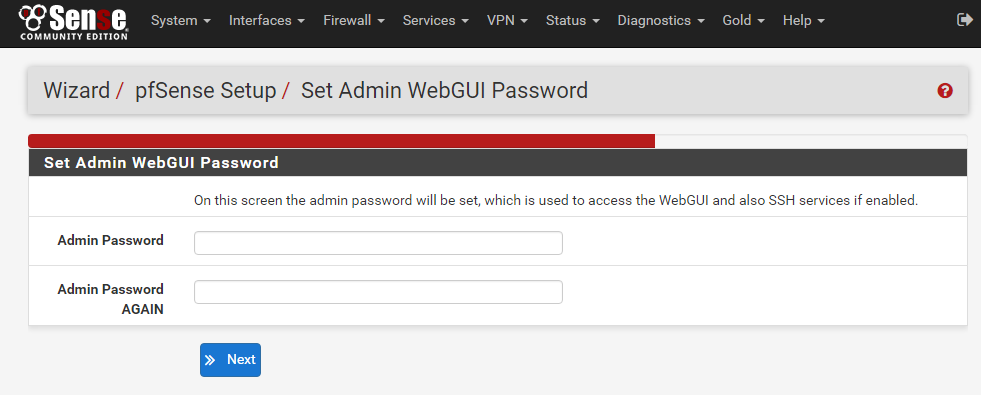
5. Set Admin WebGUI Password
Change the default password since it will be used for accessing the admin WebGUI and SSH (if enabled).
Conclusion
This concludes the second part. In the next post I’ll show how I enabled wireless capabilities in my pfSense firewall/router.

